The FileUploadFeature plugin supports having multiple UploadLocations configured at once, and each UploadLocation can use a different implementation of the IVirtualFiles interface.
This can be added in your AppHost Configure method or IHostingStartup ConfigureAppHost method. Each UploadLocation requires a Name string and an instance of an IVirtualFiles provider.
var azureBlobConnString = ... // Fetch from config/environment variables.
var azureBlobVfs = new AzureBlobVirtualFiles(azureBlobConnString, "my-container-name");

Plugins.Add(new FilesUploadFeature(
  new UploadLocation("azure", azureBlobVfs,
      readAccessRole: RoleNames.AllowAnon,
      resolvePath: ResolveUploadPath,
      validateUpload: ValidateUpload,
      validateDownload: ValidateDownload)
));
In this example of integrating Azure Blob Storage, we initialize the AzureBlobVirtualFiles, pass it to our IVirtualFiles implementation, and specify a container name.
To use the AzureBlobVirtualFiles you will need the ServiceStack.Azure NuGet package:
<PackageReference Include="ServiceStack.Azure" Version="10.*" />
Using File Upload Locations in APIs
With just the above configured, we can now use them in our APIs. The [UploadTo("name")] attribute is used with an AutoQuery Request DTO and related database model class. For example, the AzureFileItem table contains metadata about file access and is referenced by AzureFile table which contains our file metadata.
In the FileBlazor demo, we store the file metadata in one table which is related back to another to store additional metadata we use to limit file access.
public class AzureFile
{
    [AutoIncrement]
    public int Id { get; set; }
    public string FileName { get; set; }

    public string FilePath { get; set; }
    public string ContentType { get; set; }

    public long ContentLength { get; set; }

    [Reference(typeof(AzureFileItem))]
    public int SharedFileId { get; set; }
}

public class AzureFileItem
{
    [AutoIncrement]
    public int Id { get; set; }
    public FileAccessType? FileAccessType { get; set; }

    [Reference]
    public AzureFile AppFile { get; set; }
    [References(typeof(AppUser))]
    public int AppUserId { get; set; }

    [Reference]
    public AppUser AppUser { get; set; }

    public string RoleName { get; set; }
}
The AzureFile data is populated automatically when a file is uploaded while creating an AzureFileItem. We apply to [UploadTo("azure")] attribute to the ICreateDb DTO to the matching type and name for the AzureFile. The "azure" name matches the UploadLocation we previously configured in the FilesUploadFeature. This is what determines where the upload file is stored.
public class CreateAzureFileItem : ICreateDb<AzureFileItem>, IReturn<AzureFileItem>
{
    public FileAccessType? FileAccessType { get; set; }
    public string? RoleName { get; set; }

    [Input(Type = "file", UploadTo("azure")]
    public AzureFileItem AppFile { get; set; }
{
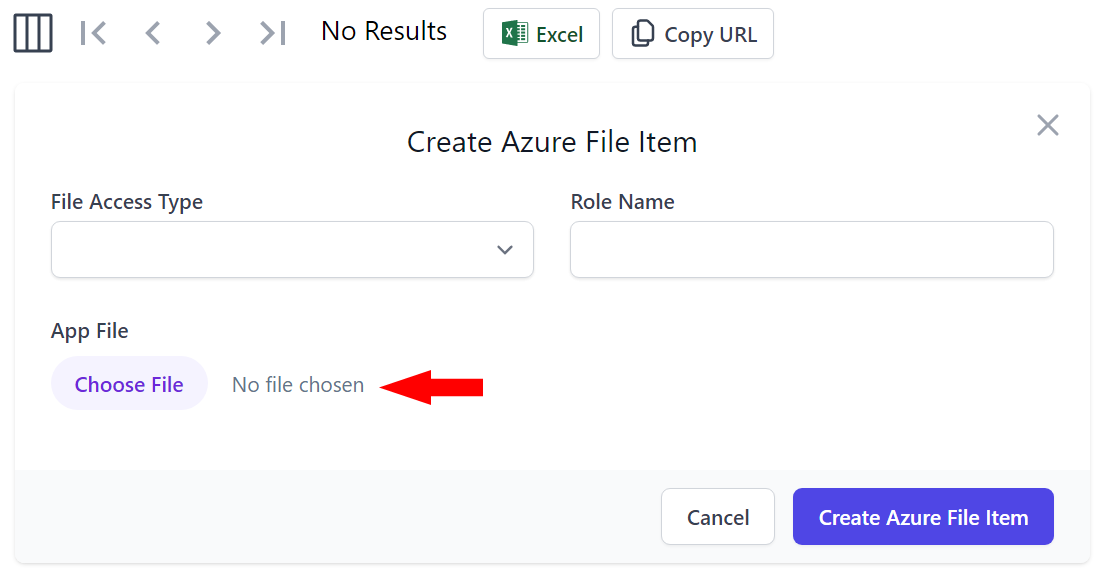
We also apply the [Input(Type="file")] attribute to enhance the Locode App so we can upload files directly from the Locode generated user interface.

Blazor Custom Client Upload
If you need to provide a custom UI, these services accessible from multiple languages since they are HTTP services.
For example, the FileBlazor demo provides the ability to drag & drop files to upload. It does this using the ServiceStack JsonApiClient to MultipartFormDataContent which includes the request and the file to upload.
async Task UploadFile(InputFileChangeEventArgs e)
{
    var request = new CreateAzureFileItem
    {
        FileAccessType = FileAccessType.Private
    };

    using var content = new MultipartFormDataContent()
        .AddParams(request);

    var file = e.File;
    using var stream = file.OpenReadStream(maxFileSize);
    using var ms = new MemoryStream();
    await stream.CopyToAsync(ms);
    ms.Position = 0;
    content.AddFile("AppFile", file.Name, ms, file.ContentType);

    var ap = await jsonApiClient.ApiFormAsync<CreateAzureFileItem>(typeof(CreateAzureFileItem).ToApiUrl(), content);

    if(!api.Succeeded)
        errorStatus = api.Error;
}